MIT interview tips.
Read MoreOlive Oil Ice Cream
Impetus
A few days ago a friend in Indianapolis sent me a lovely gift of olive oils and vinegars from a local place called Artisono's Oils and Spices. After cracking open and sampling a few of the bottles, I learned that this place truly has earned the 5 stars and rave reviews on its Yelp page. While the oils and vinegars are delicious on their own, it would be a shame to just use them for dipping bread or making vinaigrettes like the stuff we usually have. Why not, I thought, use them for something more interesting?
As you may recall, I have a bit of an affinity toward ice cream. I recalled having eaten olive oil ice cream in the past, and 5 seconds on Google confirmed that all you need to do is take a regular custard-based recipe and dump in half a cup of olive oil at the end in lieu of normal flavorings like chocolate or mint. After a rigorous scientific test involving one spoonful each of the lime and blood orange flavors, I determined that the blood orange was the least risky of my options. I didn't even consider the herbed flavor, although I bet it would be good for a non-dessert ice cream.
Results
Soooo good! The blood orange flavor makes it taste like a buttery smooth Creamsicle. The orange flavor is definitely stronger than the olive oil taste, but neither were overwhelming.
Tools
I received the 2-Quart Cuisinart ice cream maker as a wedding present and have found that it's just perfect for my current burn rate of about one batch per month. There's just a bowl that you pop in the freezer for a couple of days before you make the ice cream, and otherwise it's pretty much a giant motor attached to an ice cream paddle with an on/off switch. The best part is that it's small and lightweight. This is good if you move frequently or just don't have a lot of storage space.
On the other hand, if you want to, say, make multiple batches of ice cream for a number of party guests, or find yourself impulsively wanting to whip up a batch and can't wait 24-48 hours for the freezer bowl to cool, there are some fancier models out there that include built-in cooling units. These are good if you have unreasonably large amounts of kitchen storage and someone with a very strong back at your disposal to help transfer your ice cream maker from storage to counter. Needless to say, I haven't spent much time investigating these fancier models.
Recipe
I used the following recipe from a site called Endless Simmer. I made a couple of minor changes to the original recipe, including actually adding the vanilla extract (mysteriously omitted in the original version) and not bothering to strain the custard (a few lumps never hurt anyone):
Ingredients
- 2 cups whole milk
- 1 cup heavy cream
- 5 large egg yolks
- 1/2 cup sugar
- pinch of salt
- 1/2 cup fruity extra-virgin olive oil (Try flavored! I also used a smidgen less than half a cup, depends on how flavorful your oil is)
- 2 teaspoons pure vanilla extract
Method
- Set up an ice-bath: Fill a large bowl 1/4 of the way up with ice water. Place a medium-sized bowl over the ice water.
Place a mesh strainer on top. - In a medium saucepan, dissolve the sugar and salt in the milk and cream over medium heat. Slowly drizzle the warmed mixture into the egg yolks, whisking without stopping, until smooth. Return to the saucepan and cook over medium heat, stirring and scraping the bottom and sides of the pan constantly, until the custard thickens and coats the back of a spoon.
- Pour the custard
through the strainer, discarding the solids left behind.into your chilled bowl. Add the olive oil and vanilla extract, and whisk well for 2 minutes, until it is well blended. Cover the mixture and refrigerate 2 hours or overnight. Churn according to your ice cream maker’s instructions. Store in a shallow container*, covered with plastic wrap and and air-tight lid. Keeps up to 2 months frozen.
* Pro tip: The quart-sized rectangular Pyrex is perfect for storing a batch of Cuisinart ice cream; I recommend puting it in the freezer at least an hour before your ice cream is finished to prevent your batch from melting around the edges. Since it's never very frozen after the machine, melting is always a bit of a concern.
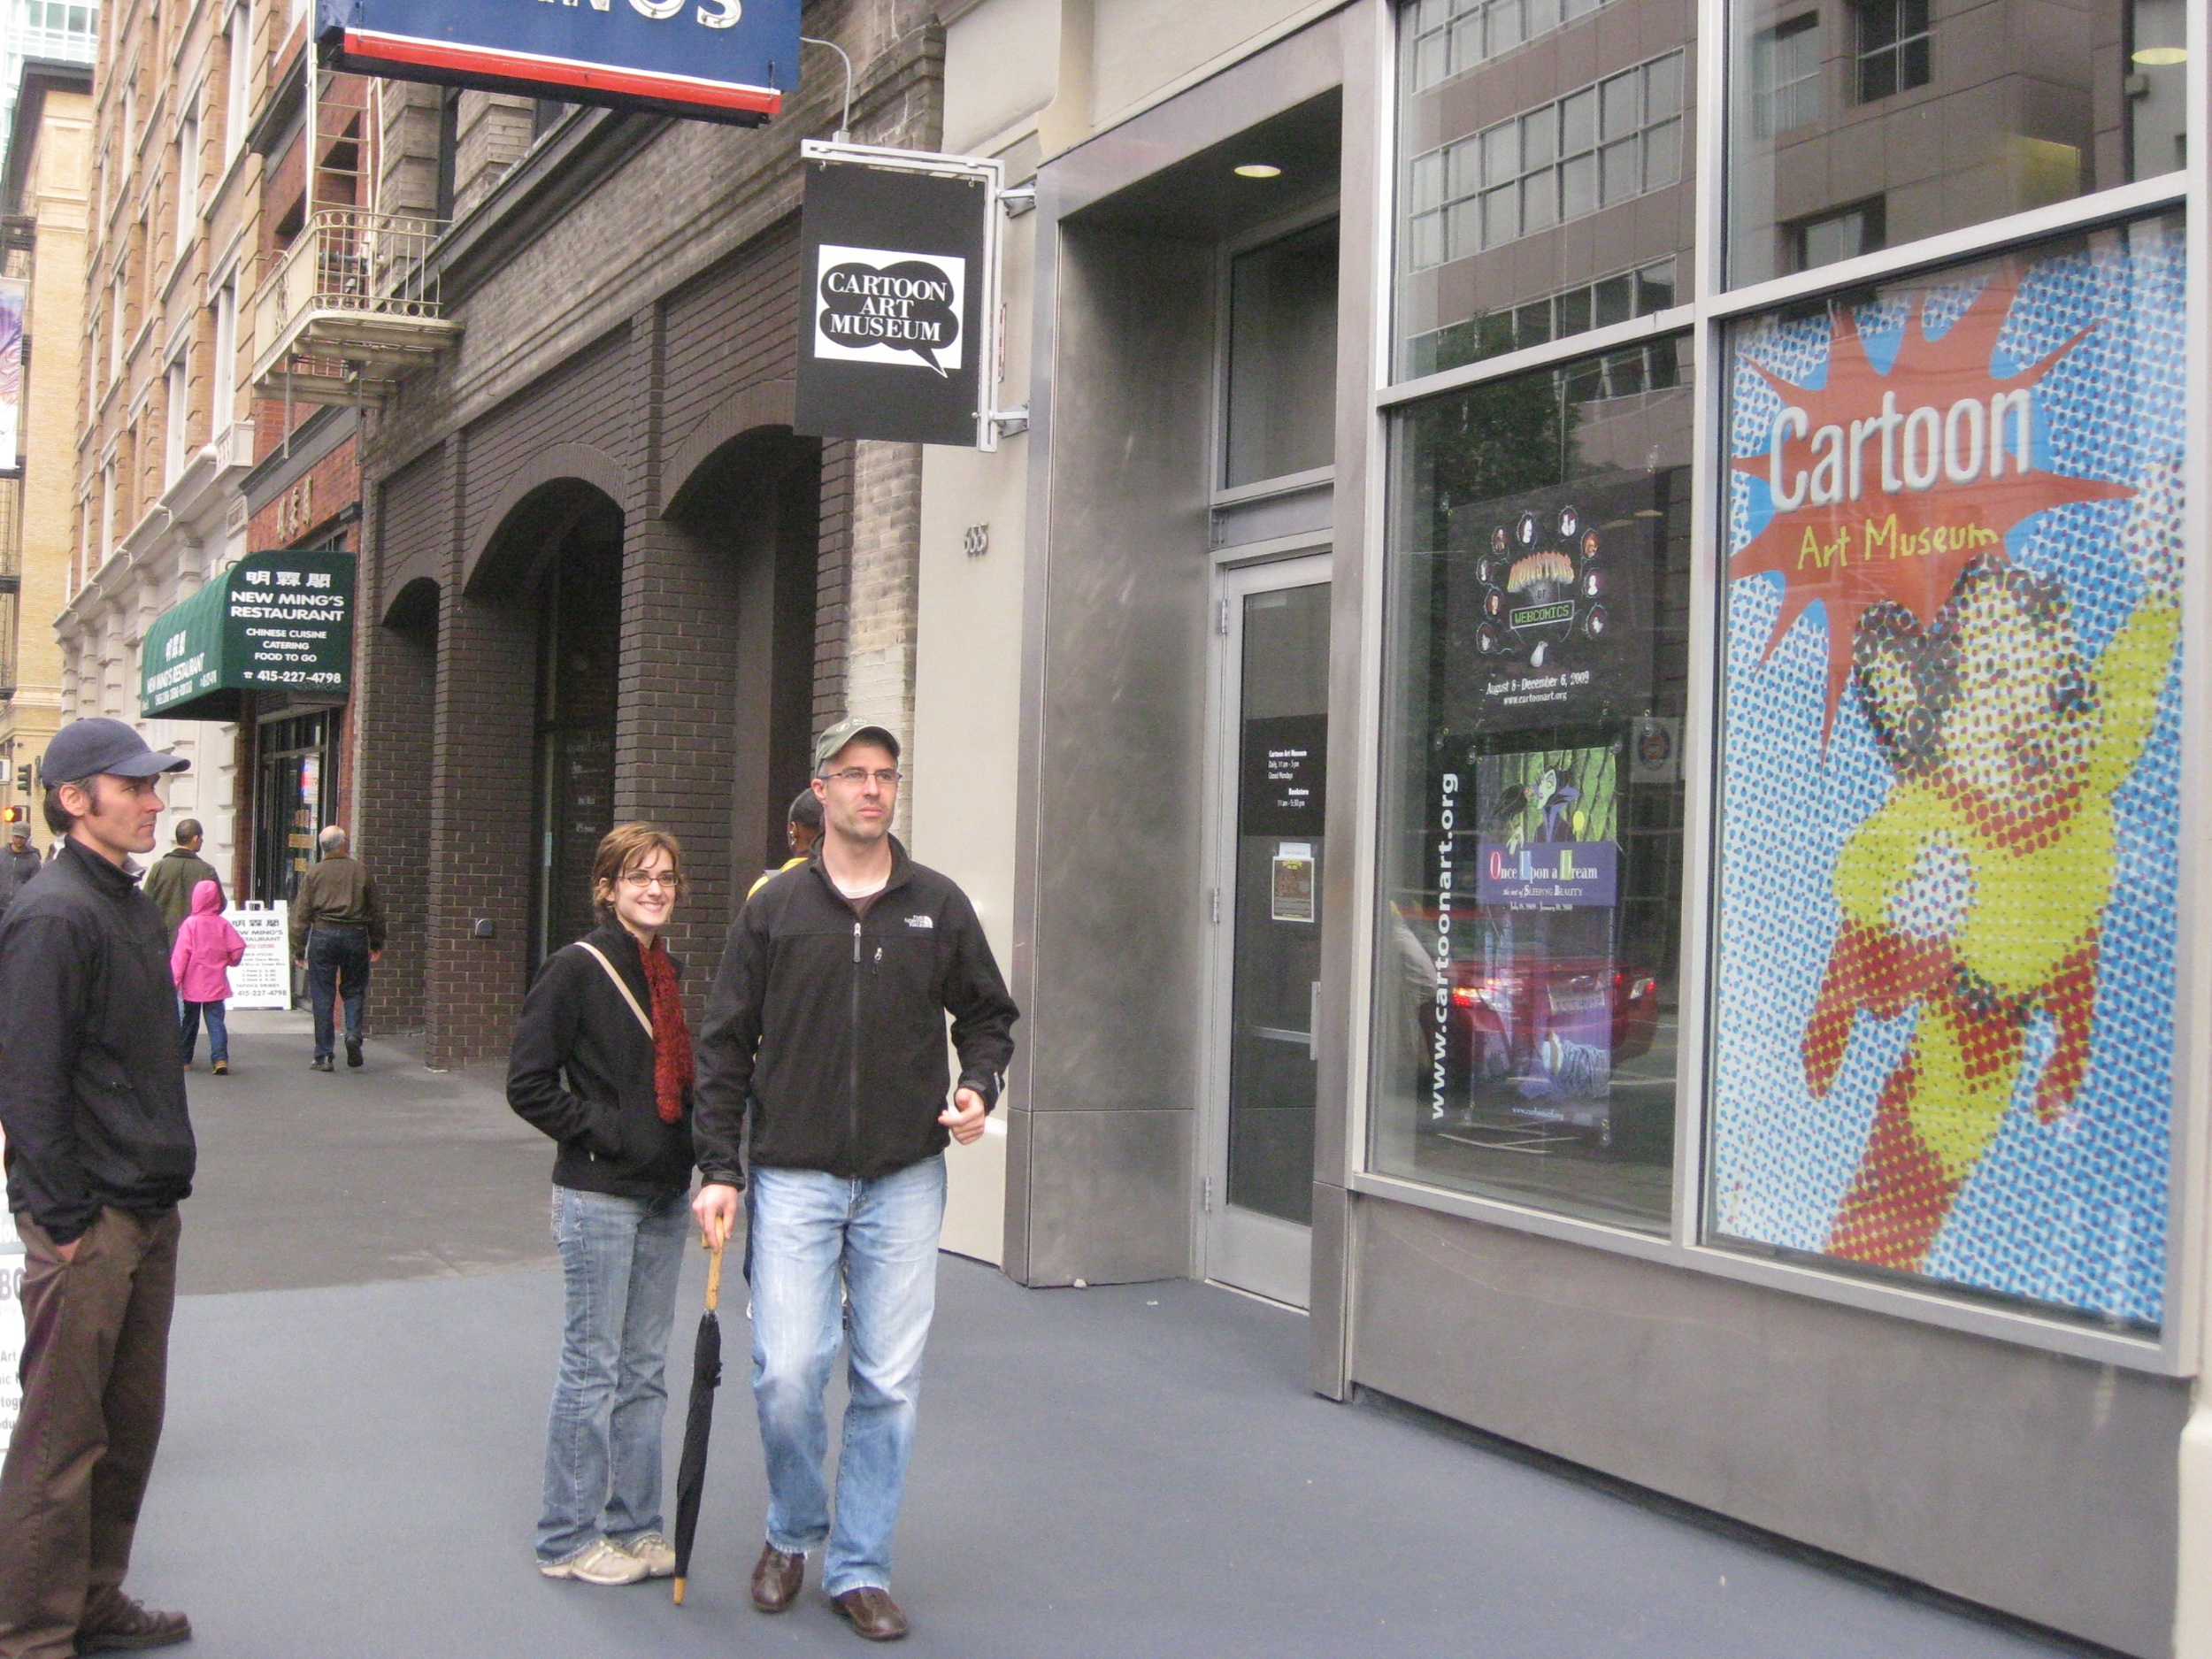
Cartoon Art Museum
While recovering from my turkey-and-pecan-pie-induced-coma this afternoon, I visited San Francisco's Cartoon Art Museum. The venue is very small-- just the right size for a perfectly digestible bit of culture. My favorite exhibit was Once Upon a Dream: The Art of Sleeping Beauty. Not having seen the film since I was a kid, I had no appreciation of how great this film was from an artistic perspective; artistic lead Eyvind Earle was given free reign and nearly ten years by Disney himself in order to create the film's "unique blend of lush detail and bold, stylized designs." The best part was seeing the rough sketches, and Sleeping Beauty painted with many trial combinations of skin and dress colors juxtaposed to the final animation cels. In the Stanford JPD we place a lot of emphasis on these types of simple sketches and cardboard mockups, knowing this process can (and often does) yield wonderful masterpieces.
Other current exhibits include Monsters of Webcomics, where the medium meets the internet, Fantastic Mr. Fox's puppets and sets, and Spain Rodriguez: Rebel in Ink and the highlights of his 40-year comic book career.
Unfortunately, cameras weren't allowed inside the exhibit, so you will need to go in-person to enjoy the shows.
The Big Game
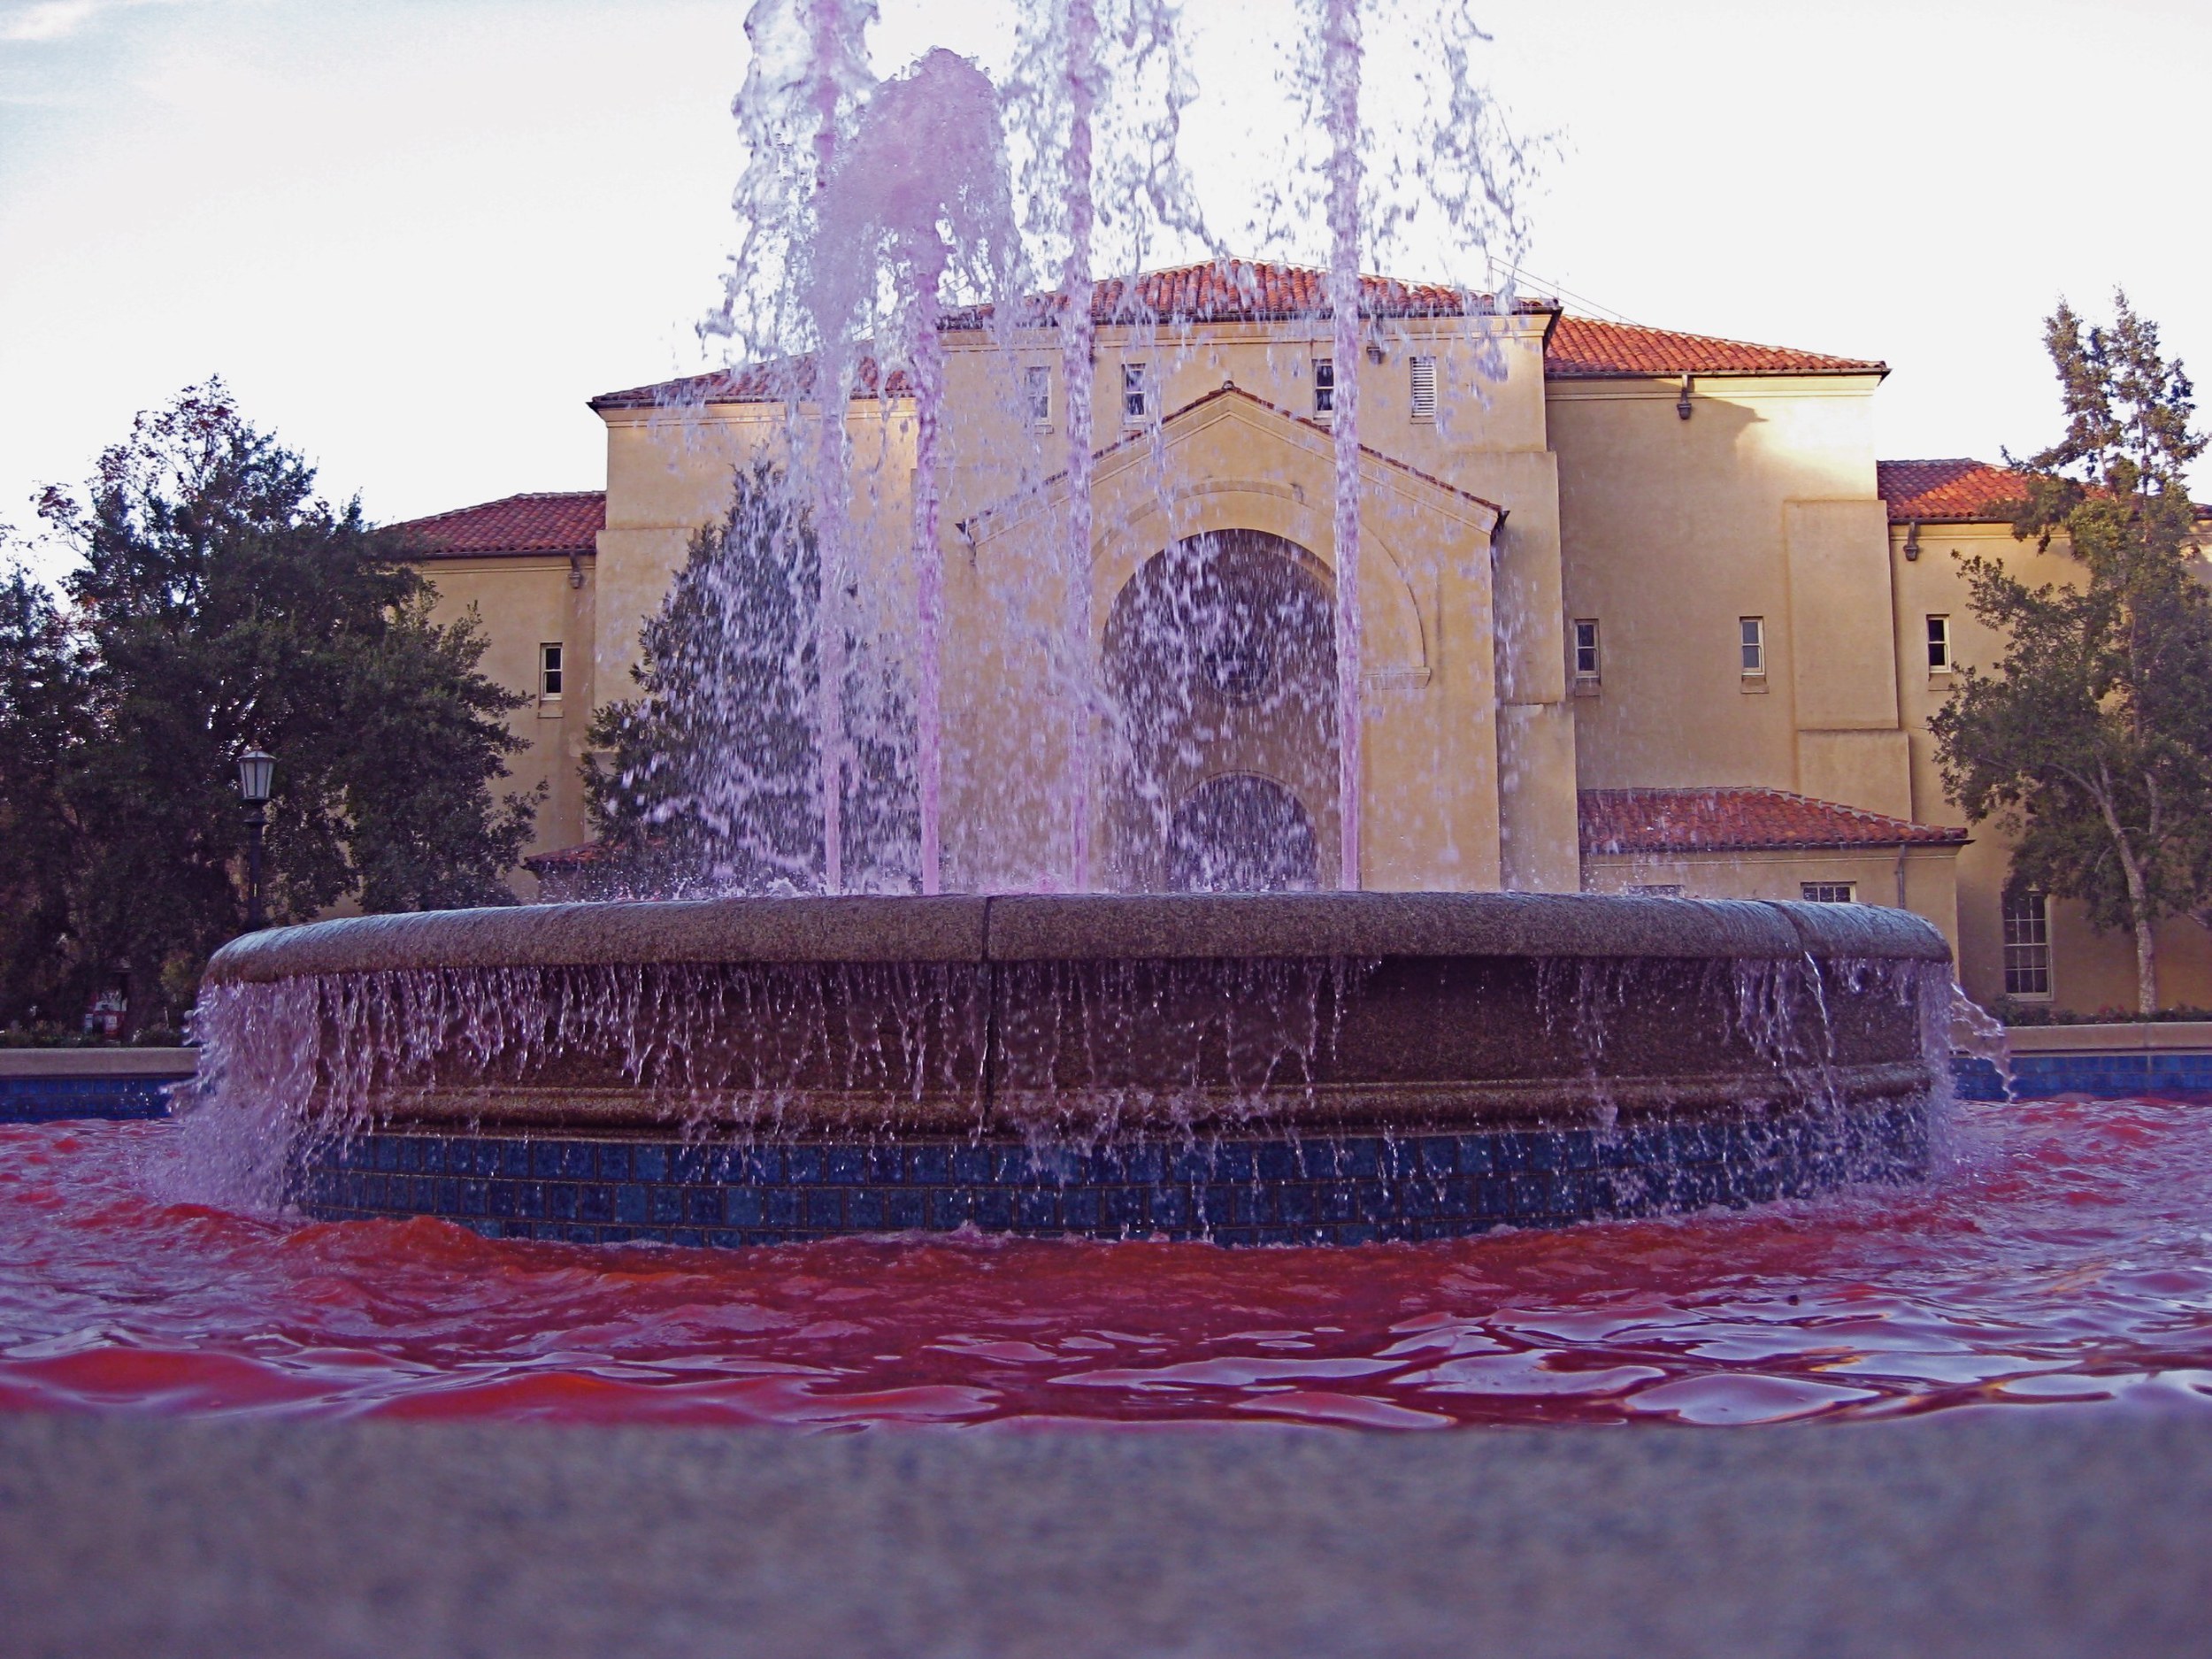
Today is the Big Game, the annual football game between Stanford and UC Berkeley. The excitement surrounding this game is completely foreign to me, having spent my undergraduate years at a school with a D3 team that many students are unaware even exists. All week friends were making plans for tailgating, special breakfast events, and other festivities in honor of the game. Student tickets are hard to come by, and require having gone to a number of games earlier in the season. Unfortunately, I am not in town to witness the spectacle today, but I did see the many signs around campus this week proclaiming "Beat Cal." Yesterday I stumbled on my favorite preparation for the Big Game: one of Stanford's many fountains had been dyed red in honor of Cardinal, Stanford's school color.
Marin County
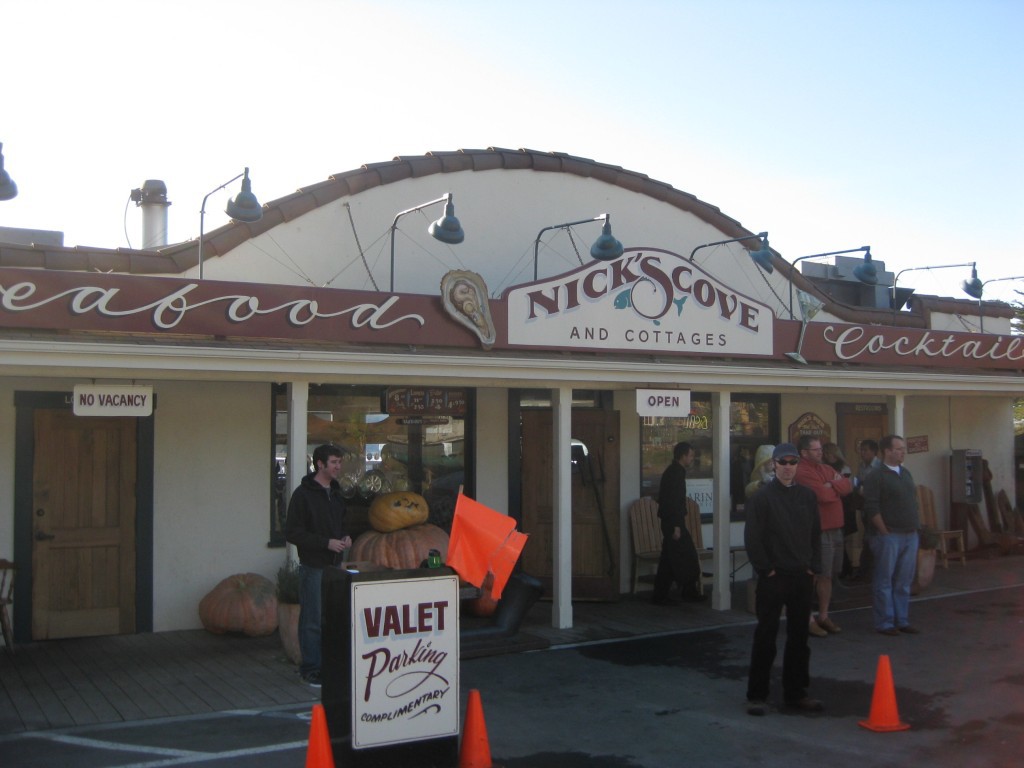
Today I took the day off and left the Palo Alto bubble for an excursion to Marin County, the county just north of San Francisco. It was one of those days that makes you wonder why anyone would ever want to live anywhere else -- a strong endorsement coming from a girl who would move back to Minnesota in a heartbeat. The sun was out and the air was crisp, and the company was entertaining. The final destination of the excursion was Nick's Cove, a fantastic restaurant with some of the best seafood I've ever had. I never would have expected dungeness crab mac 'n cheese to be good, and I've never enjoyed oysters before, but I was pleasantly surprised at how delicious they both were. It was a nice change of pace from the Thai food truck I've been frequenting at school.
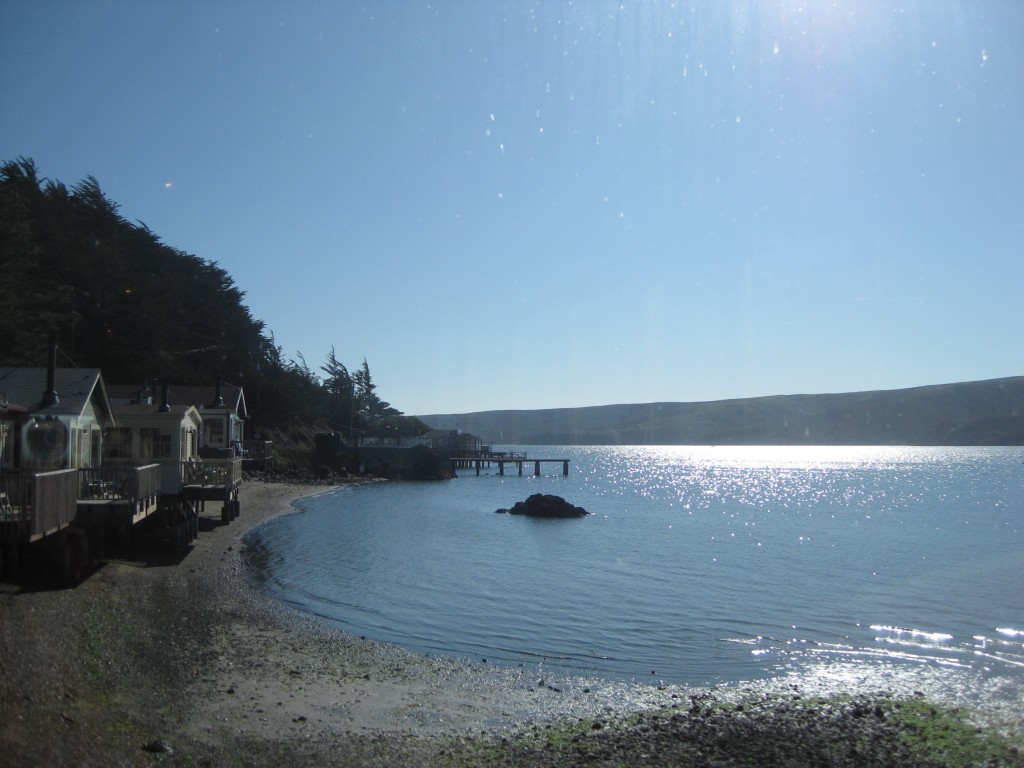
Below is the view from our lunch table. The view for most of our two hour drive was similar, with some cows and rolling hills thrown in. This bay is right over the San Andreas Fault. I'm glad the big one didn't hit while we were eating lunch.
What a lovely Saturday. Tomorrow it's back to work.
Networking
If person has enough determination and an internet connection, they can learn nearly every piece of information that a Stanford student does. The main reason for going to school is because of the people; you have the opportunity to learn from some of the best professors in the world while surrounded by bright and interesting people who are passionate about what they doo. This evening I went to a dinner to give networking a try and work on my schmoozing skills. I ended up having a surprising amount of fun. The event was one of a number of dinners sponsored by the Stanford Entrepreneur Club and held in the living rooms of various graduate students. Each dinner has a focus like sustainable technologies or women in entrepreneurship - the dinner tonight was centered around consumer internet ventures, a topic which I chose purely because it was the only one that fit into my schedule. I ended up with a number of business cards and my number programmed into a few people's iPhones.
My two biggest takeaways from this evening was that there appears to be a need for women in Stanford entrepreneurship -- out of the 13 students, only one other was a woman -- and that I need to hurry up and print a new set of business cards before I do any more dinners like this.
Liu Lecture: Maira Kalman
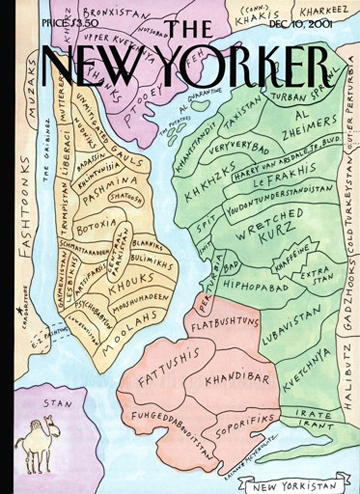
Tonight was the first in this year's series of Liu Lectures, a series of design speakers invited to Stanford to both give a lecture open to all Stanford students and community members, and to a private dinner for JPD students. They are held in memory of David H. Liu, who passed away while a student in the JPD. Each year a new student has the honor of being in charge of coordinating the speaker visits, a TA position that is generously funded by the Liu family. Can you imagine a better job than getting to invite your idols to come talk? This year's chair, David Goligorsky, has done a fabulous job with the fall lineup, beginning with tonight's speaker, Maira Kalman. Even if you don't recognize her name, you should be familiar with her work if you read the New York Times or The New Yorker on a regular basis. One of her most famous covers is shown below.
Maira was a fantastic speaker - very engaging and funny, with a dry sense of humor. My favorite tidbit from tonight came over our dinner discussion. For her work, Maira finds inspiration in the pictures she takes. To catalogue her thousands of photos, she uses an organization system different from any I have encountered before; instead of folders like "Bermuda 2009" or "Johnny's Birthday," she uses names like "Women Wearing Green Skirts Looking Sad" or "Men in Hats Looking Thoughtful." Great minds really do think differently.
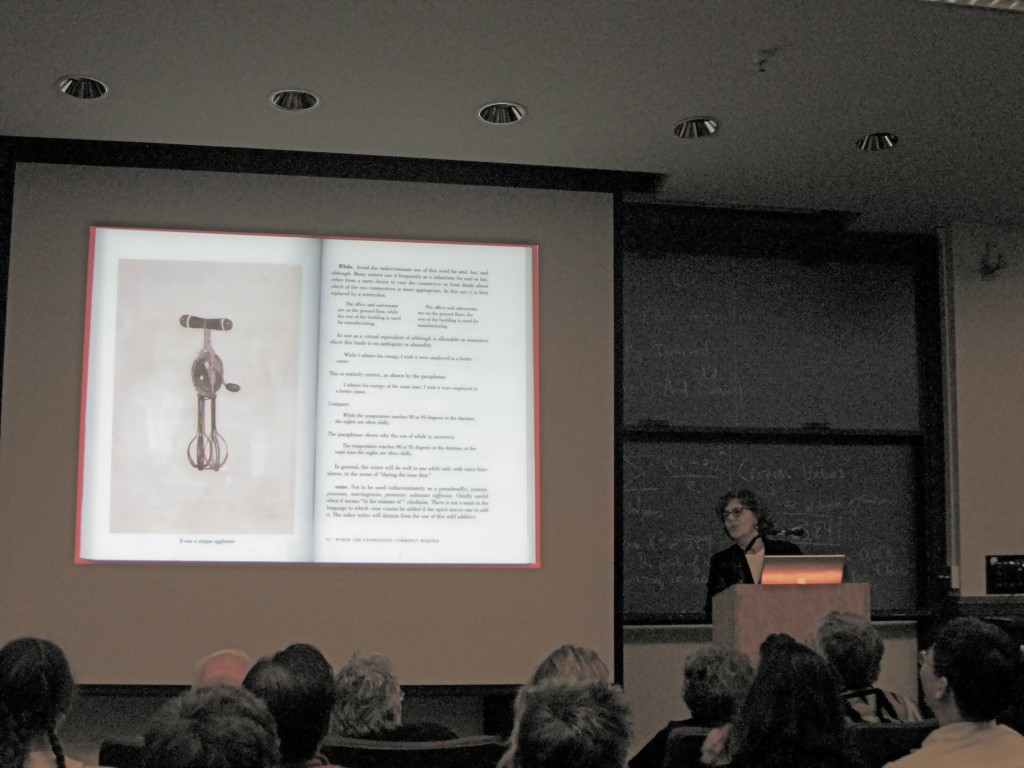
This slide is an excerpt from Maira's illustrated version of The Elements of Style. She explained how thrilled she had been that the authors had had such a great sense of humor, and had thought to include objects like egg beaters in their examples - one of her favorite things to draw. I would have enjoyed this book a lot more in high school if my version had been illustrated.
Chance Encounters
I'm spending this weekend in Austin for a family wedding. On the plane ride here, I was discussing a class project with my companion. We were discussing how to apply technologies that will be ready in the next five to ten years - cloud computing, miniature projectors, etc. - to the issue of how teens collaborate in-person. As I was sketching out some of the possibilities, the man in the aisle seat couldn't help but interrupt and tell me all about his experience fostering collaboration among various branches of government in Oregon in order to streamline processes and save the taxpayers money. I got some great ideas for what the most difficult issues are for sharing among different people, and what questions are waiting to be answered. I can't imagine a better vocation than listening to what people have to say - problems they express, needs they themselves don't even realize they have - and using my engineering skills and creativity to find a solution. Final prototypes to come later this week.
Molten Metal
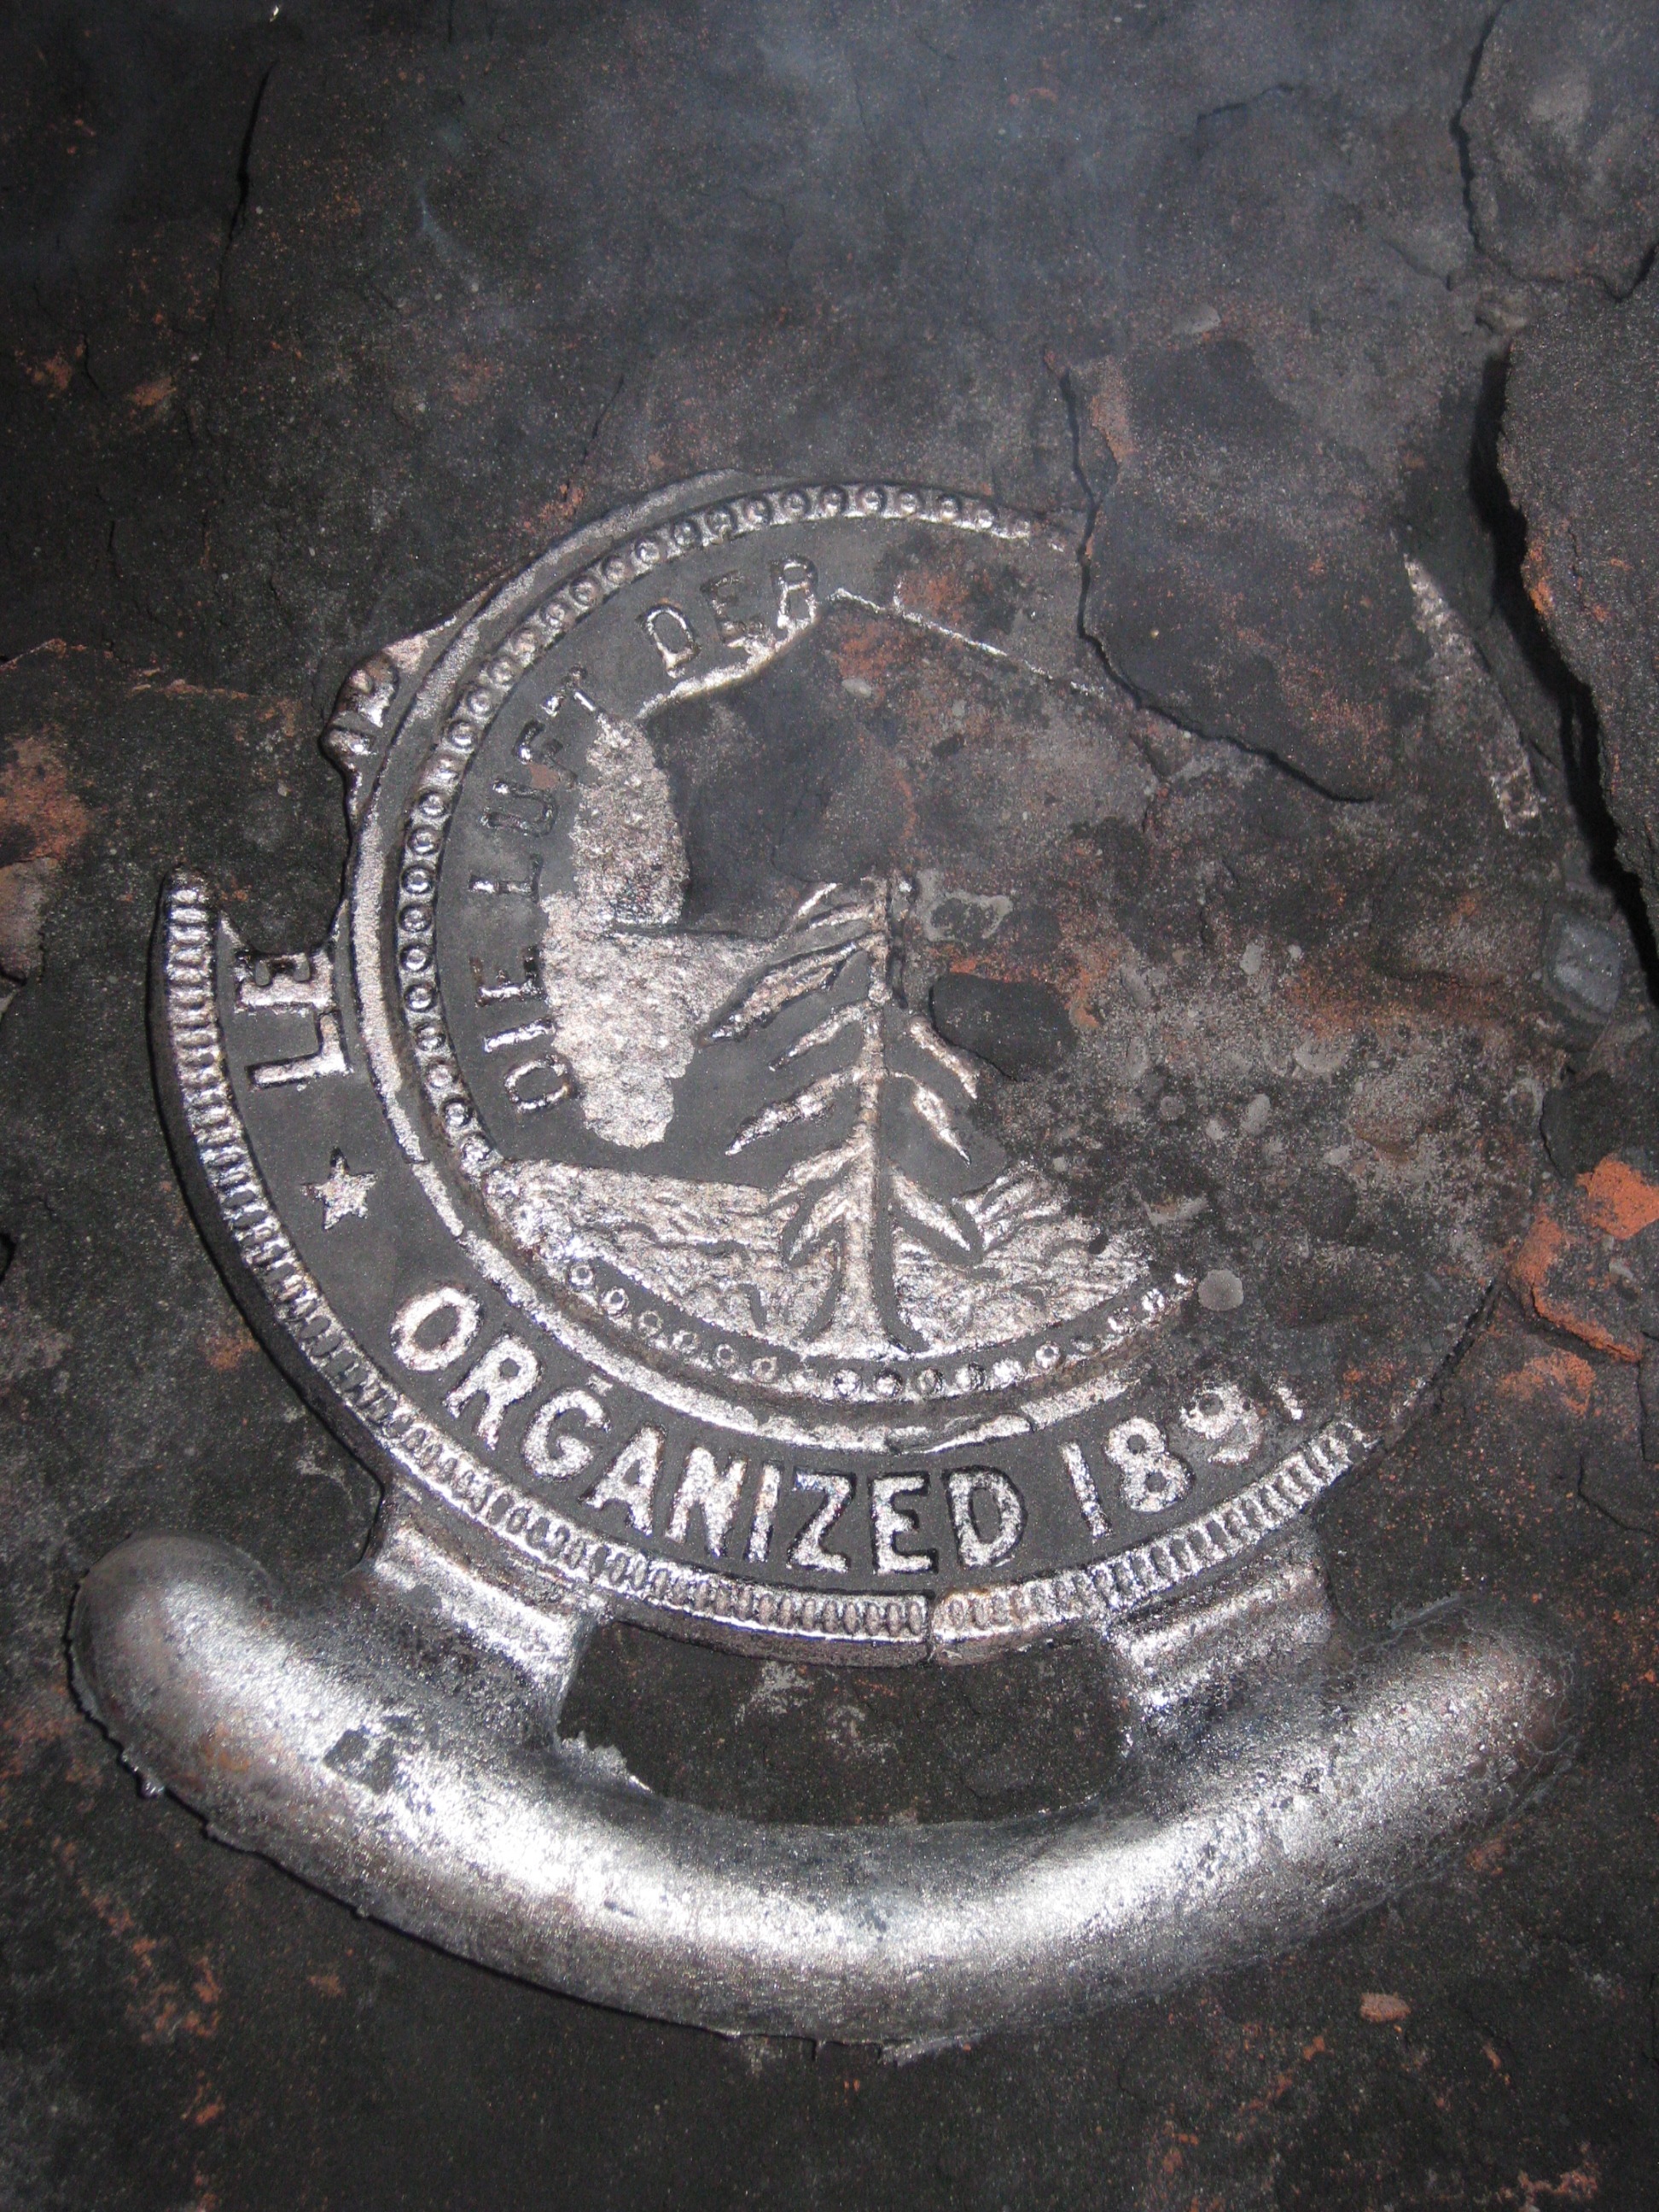
ME 203, the manufacturing and design class I'm taking, has weekly four-hour lab sections during which you learn one new process. By the end of the quarter each student has a few small projects, including a welded cube, a Stanford seal made of bronze and a simple magnifying glass. The purpose of these projects is to teach you how to mill, turn (on a lathe), weld, sand blast, and many other useful building skills. The first couple of sessions were mainly review, since I spent countless hours in MIT's Pappalardo Lab making robots and oil filter spinners among many other things. This week's lab of sand casting, however, was 100% new to me. Sand casting is so much more exciting to watch than the slow, meticulous machining processes I have used in the past. There is also a lot more heavy lifting involved, and you get a lot dirtier.
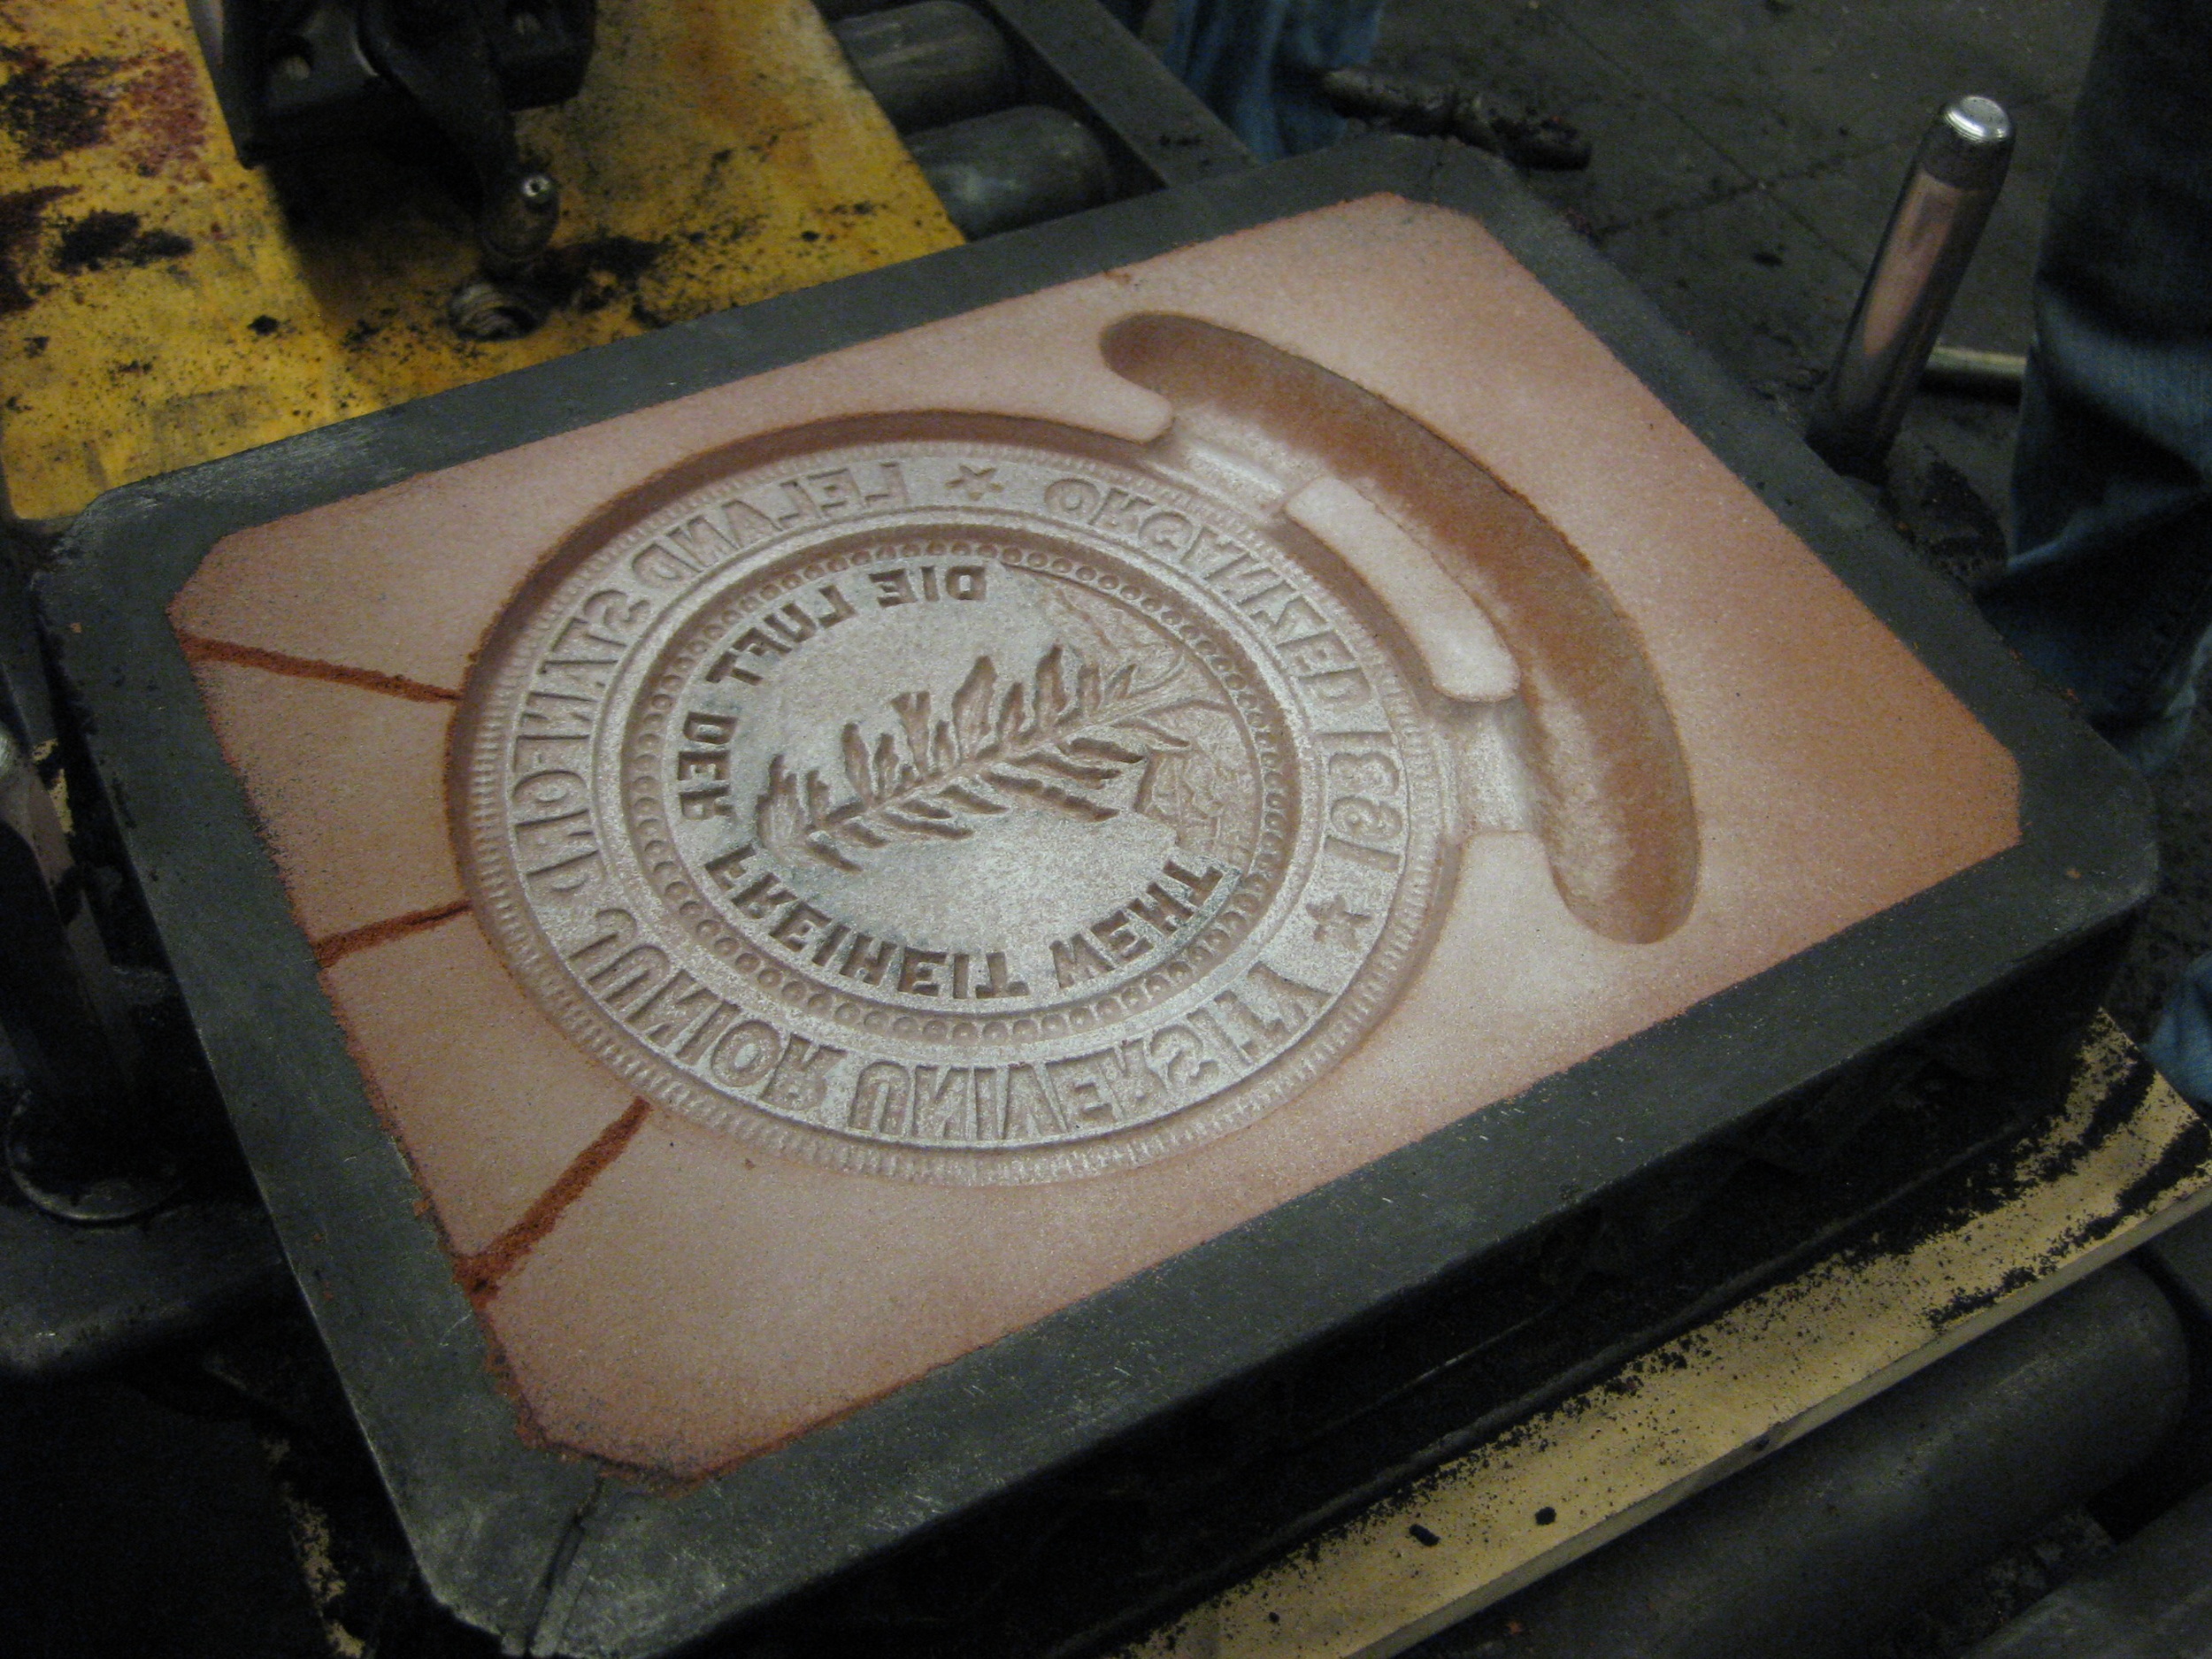
The first step is creating the mold itself. There are two resin forms: one for the front half of the seal and one for the back half. You tightly pack layers of powder, new (red) sand, then old (blackened) sand around the forms, then remove them and use a bellows to blow out stray bits of sand.
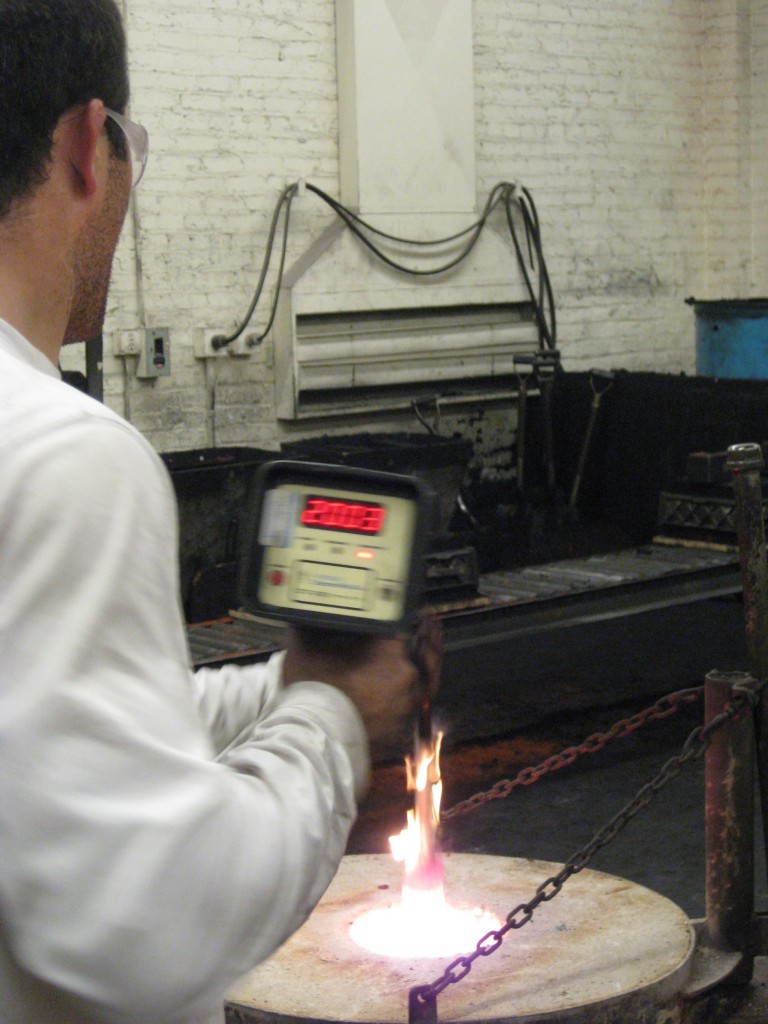
Next, you wait until the metal is hot enough to pour. In our case, that was 2020 degrees Fahrenheit. In order to measure how hot the metal is, you need a special temperature probe that can withstand the heat - or not, as was the case when one of ours burned off in the crucible.
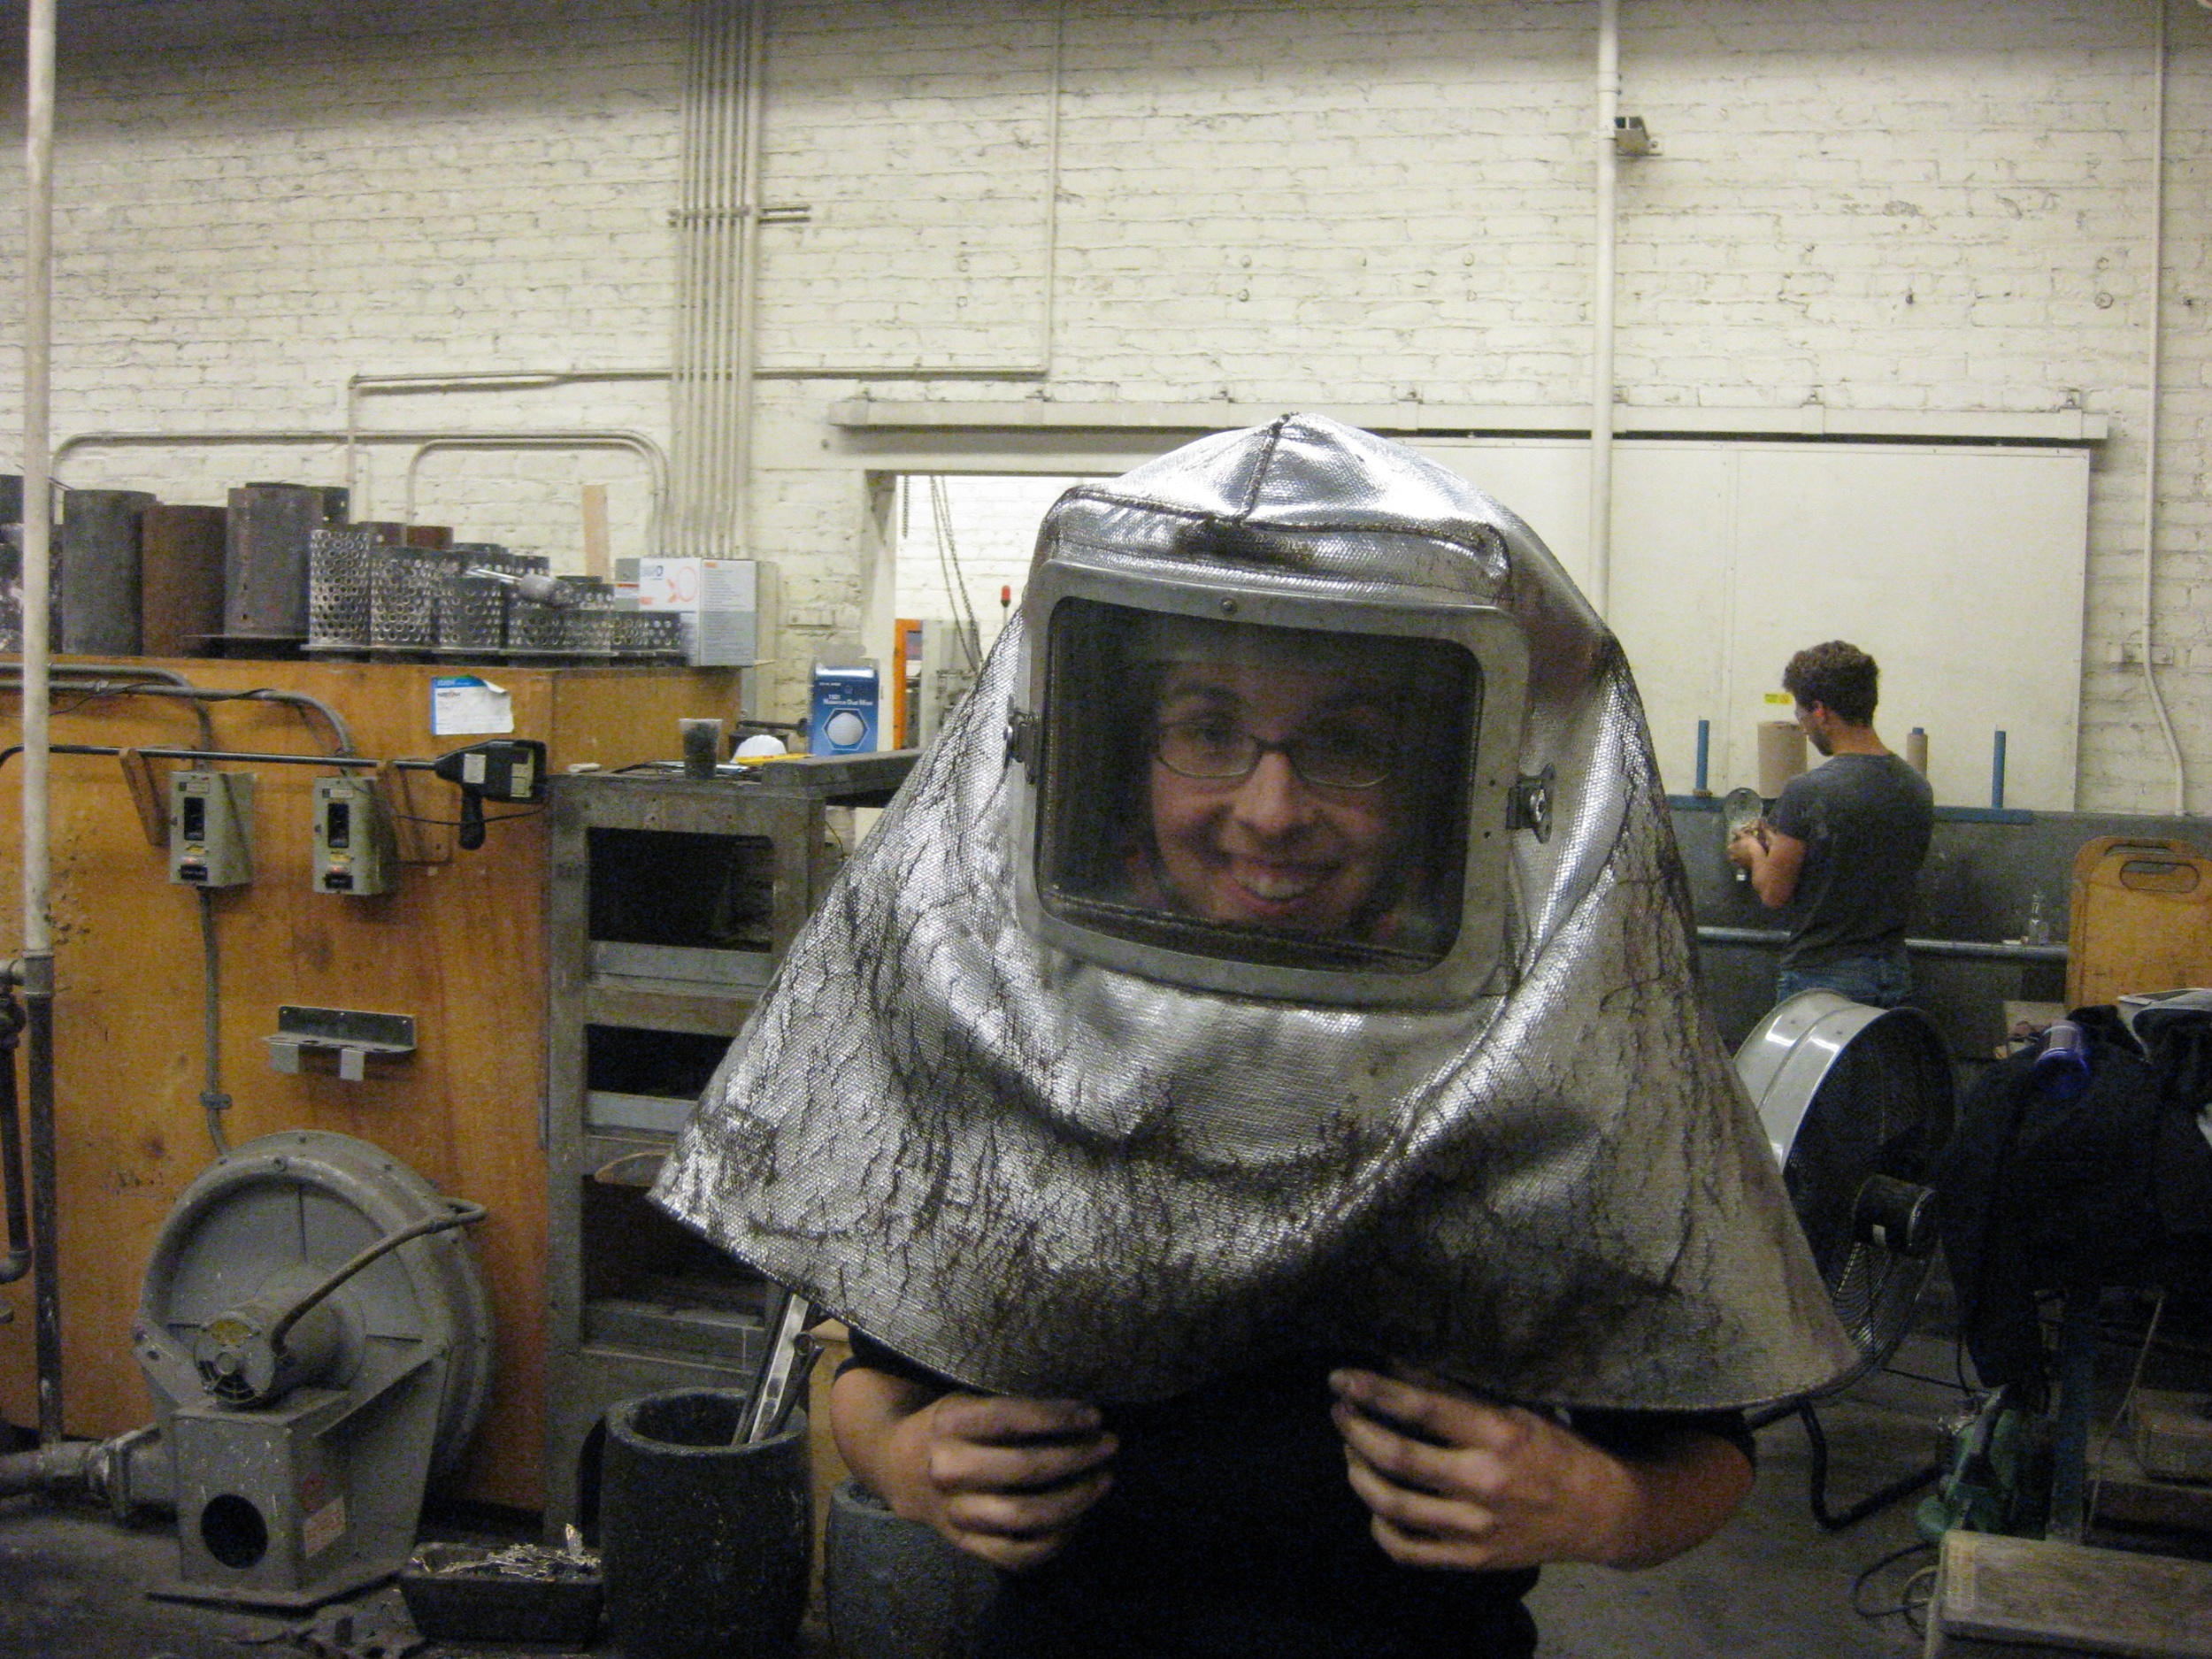
In order to even get close to the crucible of metal at that point, you need to wear heat reflective clothing. I thought these looked pretty cool.
Once the metal was ready for pouring, our TAs kicked us all out of the room and went down the line, rationing out the molten metal to our line of waiting molds.
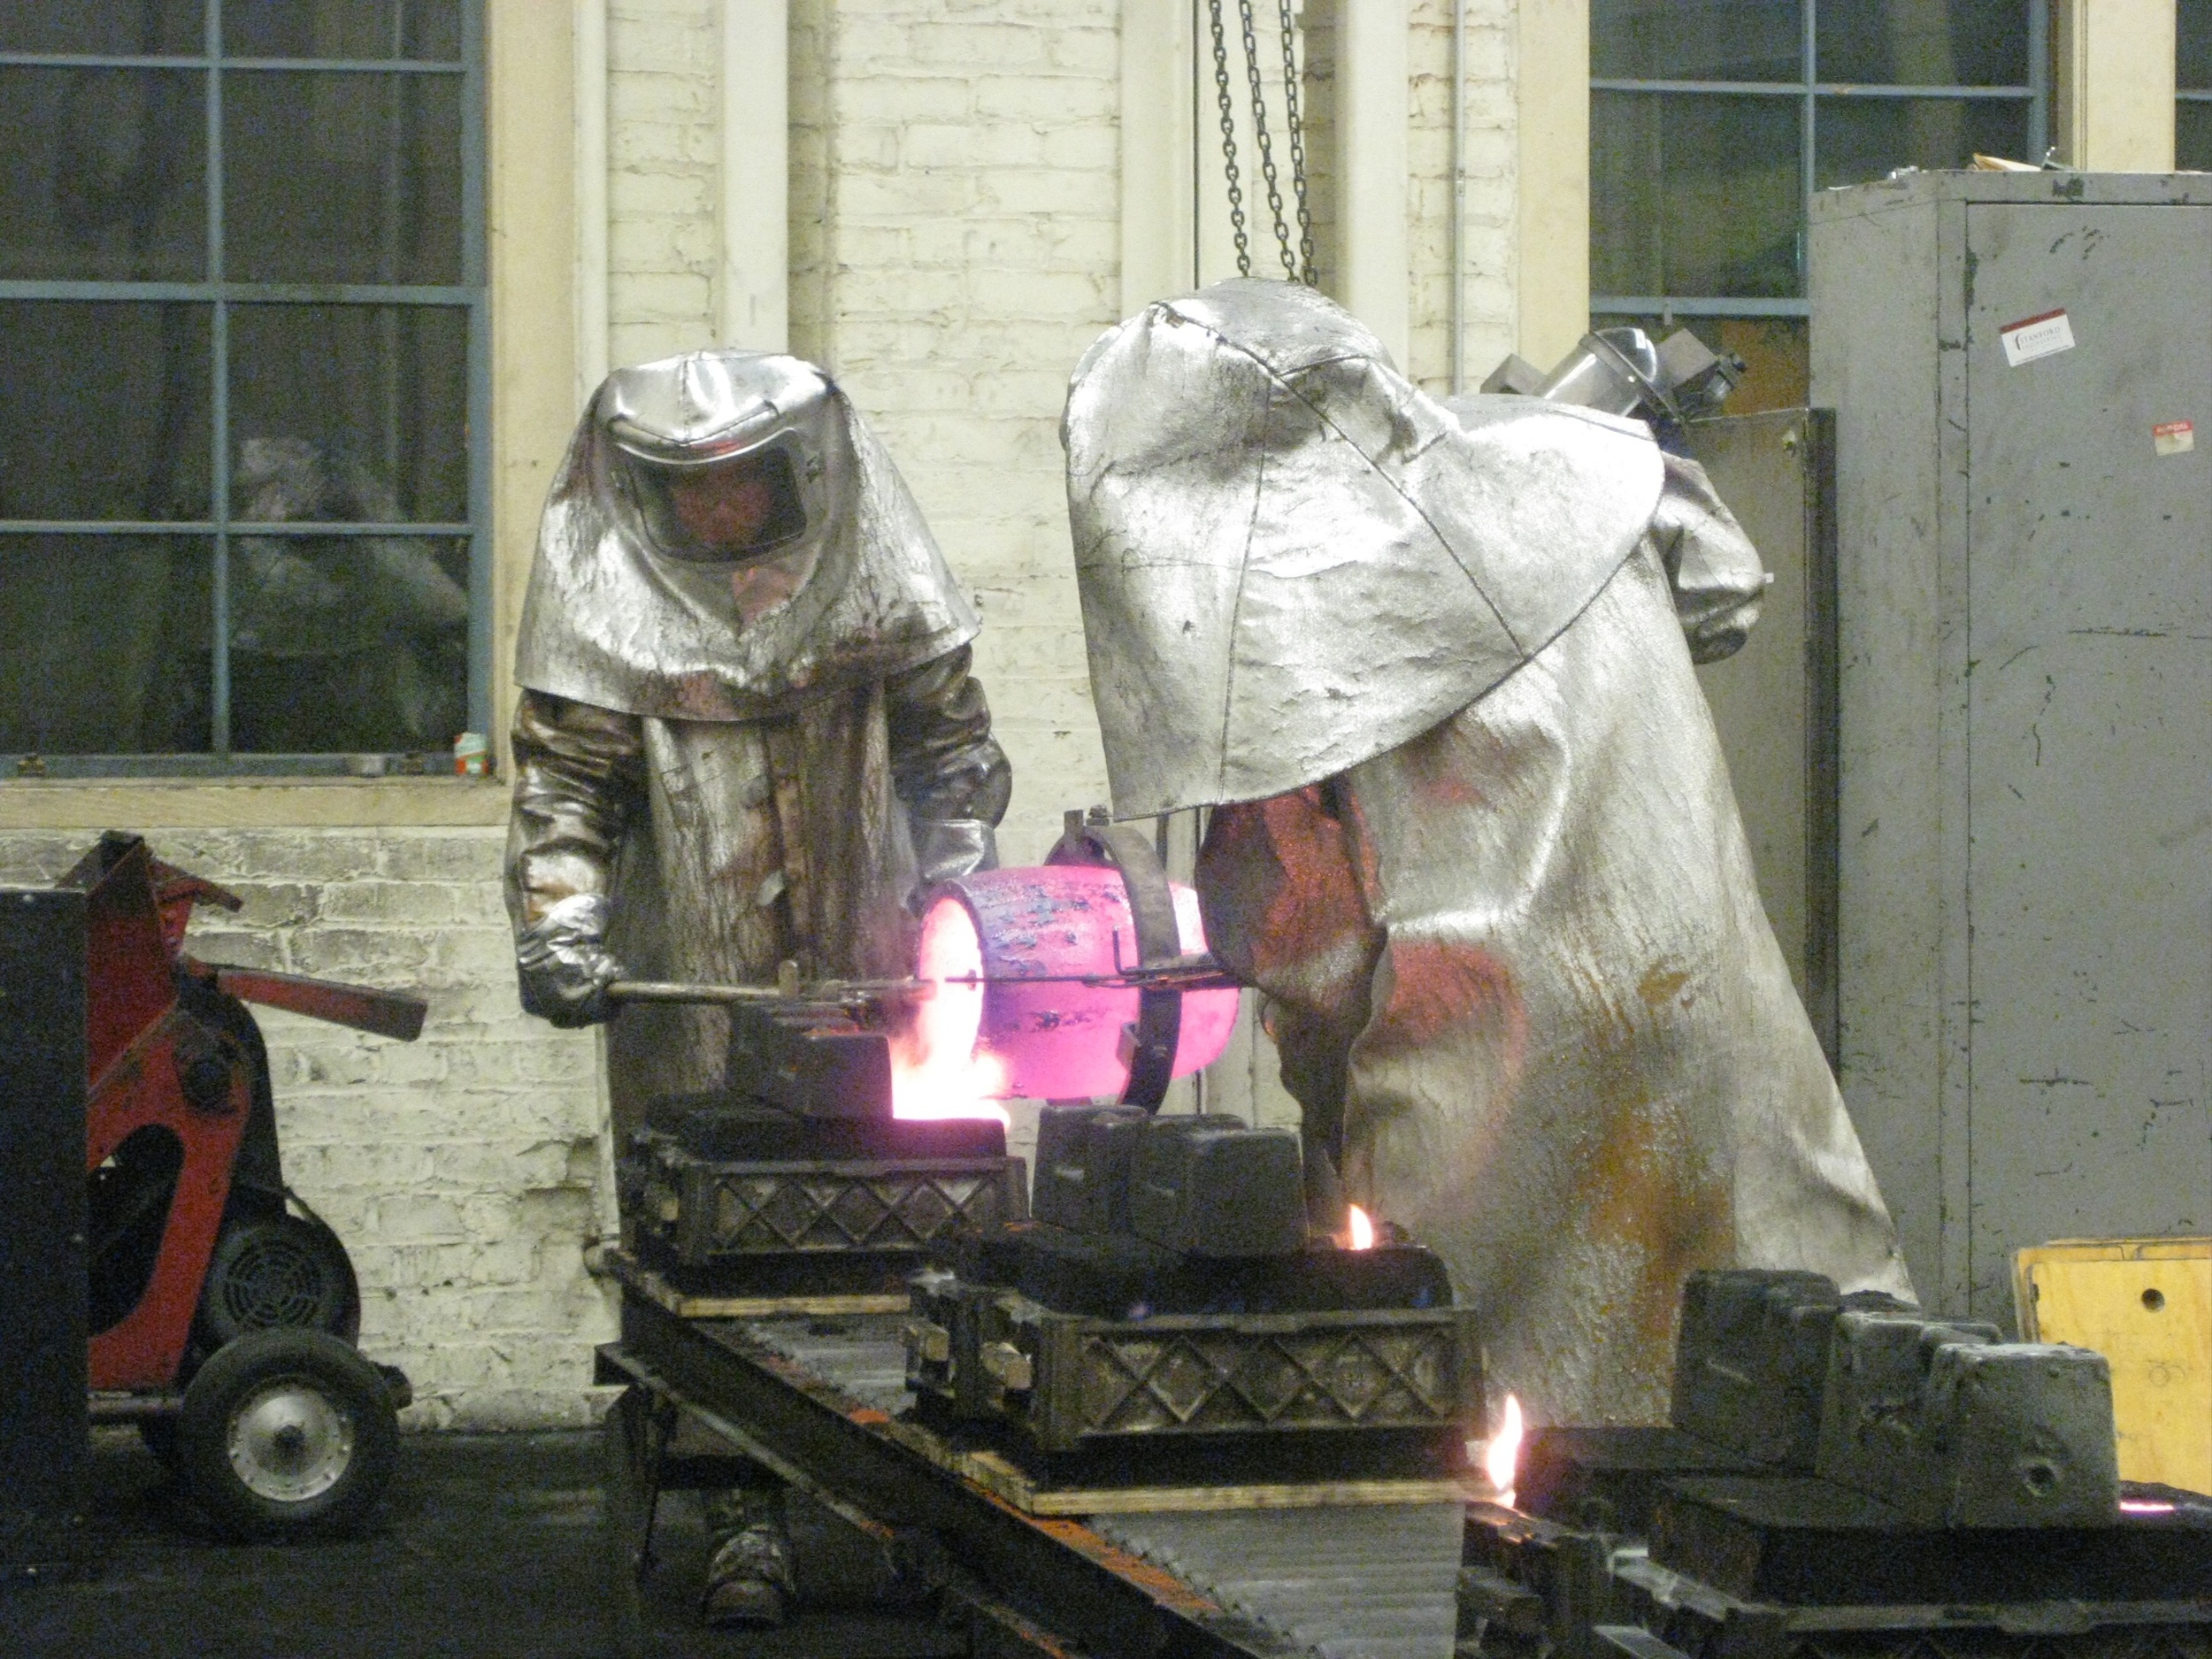
Unfortunately, my mold was at the very end of the row. A couple of other molds were too leaky, meaning that they ran out of metal part way through mine. I'm not too sad about this, since I don't have much use for a 5-pound piece of brass, but I was disappointed that I didn't get to see how well my mold held up.
